GoD and DoG
Such a sweet little song. Worth watching again.
Wednesday, July 27, 2011
Sunday, April 24, 2011
desertbotanicalgarden's photostream


desertbotanicalgarden's photostream on Flickr.
I miss the Garden so much. I guess this will have to do. Hugs.
Wednesday, March 9, 2011
Owl Pin Cushions
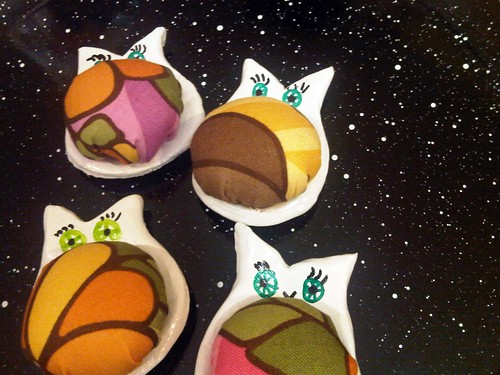
Made these little owls for the Scrappy Pin Cushion Swap. I tried something new because I used clay to make the owl base. The center is yo-yo.
Wednesday, February 2, 2011
Sunday, January 2, 2011
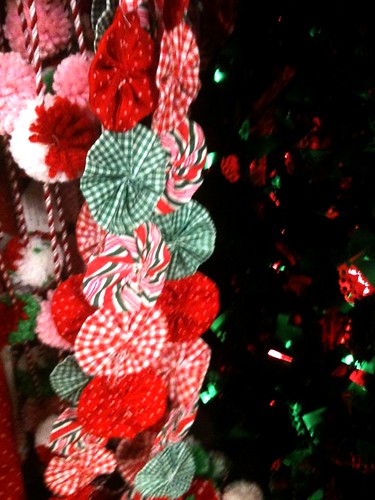
Yo-Yo Garland at Sears
Finally the big store, Sears, got their holiday decorations correct this year. They used yo-yos and pom-poms. Oh my...Someone who chose these decorations got it right, and I love all the happy colors. Many thanks to, my cousin, Gail for sharing this photo with me.
Friday, December 24, 2010
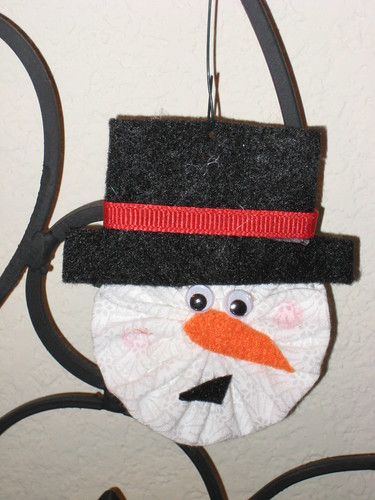
Snowman
Made this little ornament in 2007 way before the book was published with my idea in it. You know who you are. Merry Christmas.
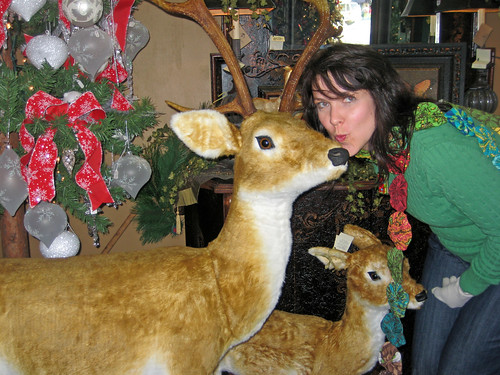
Merry Christmas
This picture is dedicated to Rachel Fergueson. Thanks to my sister-in-law, Soli, for snapping this picture.
Subscribe to:
Posts (Atom)